Description
Sentry安装使用记录
Sentry 是一个开源的实时错误追踪系统,可以帮助开发者实时监控并修复异常问题,可以本地搭建也可以使用在线服务,为了满足上传源码,我们可以选择使用本地搭建
优点
- 多平台支持
- 开源
- 实时收集、完整复现
- 为不同语言提供完整的复现上下文,方便定位 BUG;方便协同工作,可指定处理人员
- 隐私和安全
- 持续集成
接入Sentry
网上教程很多,这里就不在描述,记得找时间最近的教程;
推荐:Centos中安装Sentry
配置 .env
执行 ll -a 可以看到目录中有一个 .env 文件
sudo vi .env

# 按 i 进入编辑模式
将 SENTRY_EVENT_RETENTION_DAYS=90 改为 SENTRY_EVENT_RETENTION_DAYS=7,一般保存7天事件数据即可,视自己情况而定。在文件最后可添加 “限制 Kafka 磁盘使用量” 的配置,新版 Sentry 使用的 Kafka 会大量的写入日志信息,特别容易导致磁盘跑满,具体限制额度根据自己的磁盘情况而定。具体可常见 [Sentry disk cleanup kafka]
KAFKA_LOG_RETENTION_HOURS=24
KAFKA_LOG_RETENTION_BYTES=53687091200
KAFKA_LOG_SEGMENT_BYTES=1073741824
KAFKA_LOG_RETENTION_CHECK_INTERVAL_MS=300000
KAFKA_LOG_SEGMENT_DELETE_DELAY_MS=60000
编辑完成后,按 esc 退出编辑模式,然后按 shift + : 输入 wq 后回车。如果没有编辑可输入 q 或 q! 退出。
Sentry配置nginx大小
1.打开nginx配置文件 nginx.conf, 路径一般是:/etc/nginx/nginx.conf。
2.在http{}段中加入 client_max_body_size *20m*; 20m为允许最大上传的大小。
使用Sentry
接入项目
创建项目之后会有文件教程;
需要先安装:
yarn add@sentry/react @sentry/tracing下面是项目中使用示例,对于多页,可以写成一个通用的js,然后引入:(注意这里的版本号release号,如果需要上传源码一定要和后面的**@sentry/cli或者@sentry/webpack-plugin**里面的版本号对应,这样才能正确的解析到代码位置)
# sentryConfig.js
import * as Sentry from '@sentry/react';
import { Integrations } from '@sentry/tracing';

// 判断是不是公司环境
const checkCompanyEnvironment = () => {
    const { origin,pathname } = location;

    if (!origin){
        return false;
    }
    return origin.indexOf('192') !== -1 || origin.indexOf('test') !== -1 || pathname.indexOf('test') !== -1;
};

const companyEnvironment = checkCompanyEnvironment();

#projectID是在http://xxxx/organizations/sentry/issues/?project=5,就是这个project的值
#6b641ba561bd4da69dad4870e369f0d1 这一串值创建项目中有
#或者查看Setting-sentry-项目-client keys里面有DSN
let dsn = 'http://6b641ba561bd4da69dad4870e369f0d1@内网地址:9000/projectID';

if (process.env.NODE_ENV !== 'development' && !companyEnvironment){
    dsn = 'http://6b641ba561bd4da69dad4870e369f0d1@外网地址:9000/projectID';
}
Sentry.init({
    dsn,
    integrations: [new Integrations.BrowserTracing()],
    enabled: process.env.NODE_ENV !== 'development',
    release:'项目名称@版本号',
    //beforeSend(event, hint) {//eslint-disable-line
        // Check if it is an exception, and if so, show the report dialog
        //加上这个beforeSend网页异常时会出现一个错误上报弹窗,我们可能不需要这个,所以推荐打开
        //if (event.exception) {
           // Sentry.showReportDialog({ eventId: event.event_id });
       // }
        //return event;
    //},
    // Set tracesSampleRate to 1.0 to capture 100%
    // of transactions for performance monitoring.
    // We recommend adjusting this value in production
    tracesSampleRate: 1
});

#使用
import '#/utils/sentryConfig.js'
修改语言,修改时区

修改项目报错通知时间
如果设置的是5分钟,我这边会显示不了错误,即使有进行异常上报,设置成1分钟就可以;

设置 APIKEY
非常重要的一步,配置的话,这 2 个必勾。涉及到后面上传 sourceMap 文件的权限

设置成功后可以看到一条 apikey

这是后面上传配置需要用到的;
结合@sentry/cli实现源码上传
安装@sentry/cli
配置.npmrc文件,新增sentrycli_cdnurl,不然大概率安装失败
sass_binary_site=https://npm.taobao.org/mirrors/node-sass/
phantomjs_cdnurl=http://cnpmjs.org/downloads
electron_mirror=https://npm.taobao.org/mirrors/electron/
registry=http://192.168.0.62:7001/
sentrycli_cdnurl=https://npm.taobao.org/mirrors/sentry-cli/项目根目录新增.sentryclirc配置文件
[defaults]
url=http://192.168.0.156:9000
org=sentry
project=项目名称

[auth]
token=可以在Setting/Account/API/Auth Tokens中找
注意不能有空格,否则会报错,配置图文对应:


package.json的script新增命令:"upload-sourcemap": "sh ./upload-sourcemap.sh",
"scripts": {
    "start": "xxxx",
    "build": "....build && yarn run upload-sourcemap && rm -rf dist/js/*.map",
    "upload-sourcemap": "sh ./upload-sourcemap.sh",
},即执行完yarn run build之后会继续执行upload-sourcemap
根目录新增upload-sourcemap.sh脚本
#!/bin/bash
./node_modules/.bin/sentry-cli releases files "项目名称@版本号" upload-sourcemaps ./dist/js这里是使用sentry-cli进行源码上传,注意编译之后的map文件的位置,这里webpack默认再dist下面;
版本号需要手动填写,也可以去SVN或者git提交的版本号;
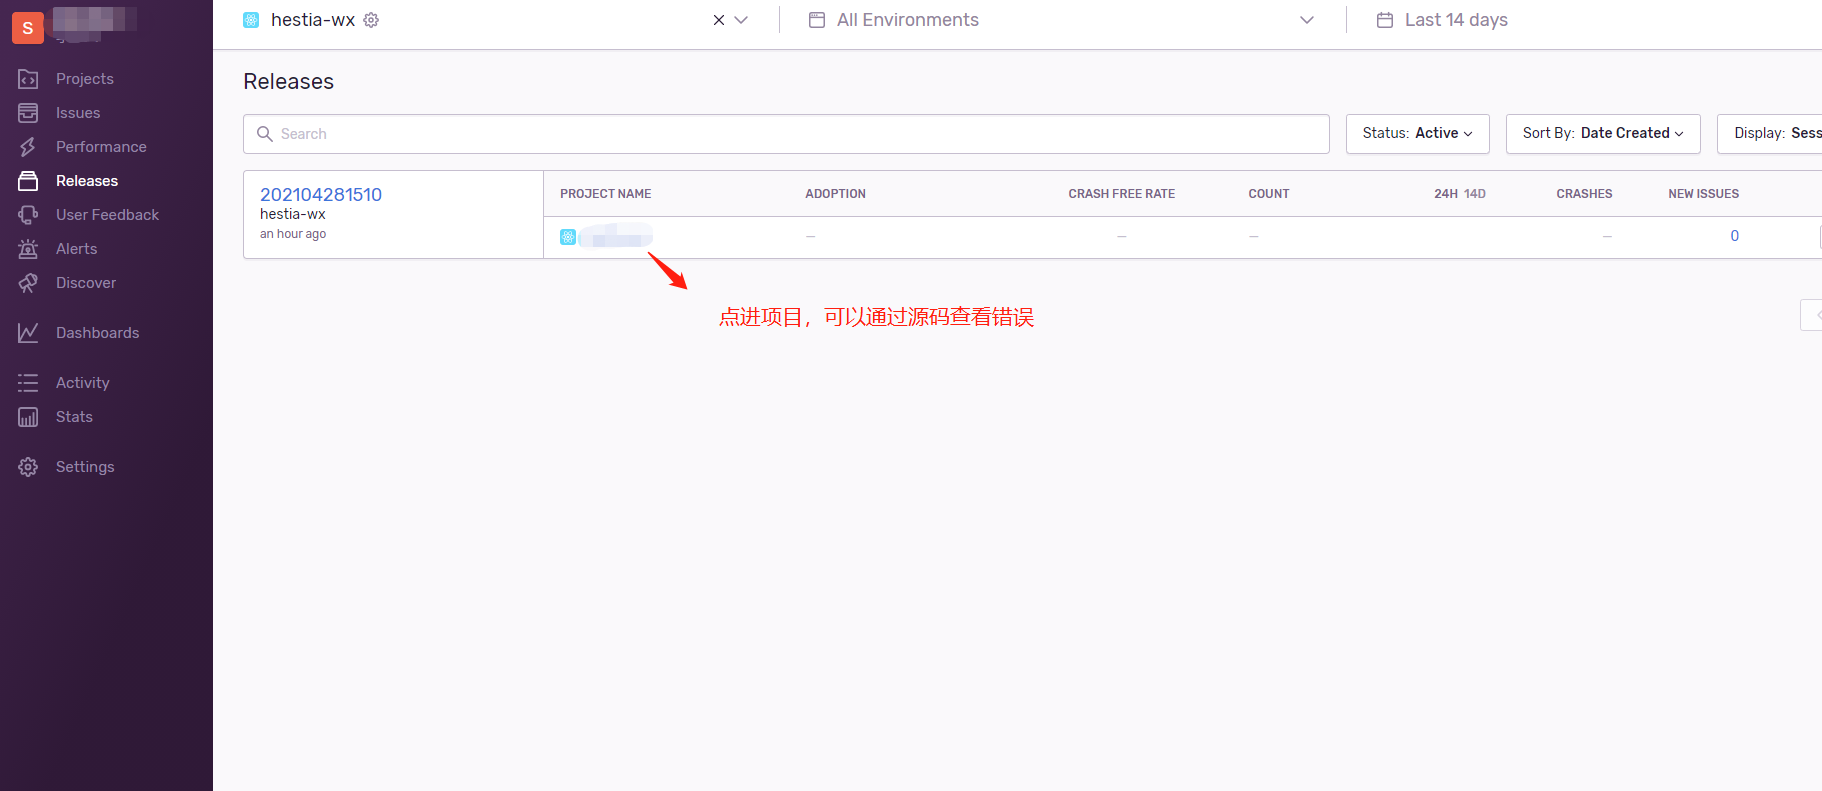
执行完之后可以就可以看到版本了

@sentry/webpack-plugin上传
由于这样编译和上传source-map是分开的,需要手动填写版本号,不方便,现在介绍另外一种通过@sentry/webpack-plugin来进行同步上传,不用担心拖慢编译速度,实际上传很快的,也就10秒左右
.sentryclirc文件内容不变,webpack-prod.js(注意不是开发模式)文件新增以下内容:
const SentryPlugin = require('@sentry/webpack-plugin');

// 版本号 项目名称+年+月+日+时
const sentryRelease = `项目名称&${new Date(+new Date() + 8 * 3600 * 1000).toJSON()
    .substr(0, 19)}`;

//webpack的Plugins新增如下内容:

devtool: 'source-map';//devtool要设置成source-map,不能设置成cheap-module-source-map,否则源码显示错误

if (process.env.NODE_ENV !== 'development'){
    new SentryPlugin({
        release: sentryRelease, // 版本号
        include: path.join(__dirname, './dist/js'), // 需要上传到sentry服务器的资源目录,会自动匹配js 以及map文件
        configFile: '.sentryclirc',
        urlPrefix: '~/hestia-hestiaWx/js'  // 线上对应的url资源的相对路径,具体百度
    })
}
//注入全局变量
define: {
    _SENTRY_RELEASES_: sentryRelease
},sentryConfig.js修改release:
Sentry.init({
    dsn,
    integrations: [new Integrations.BrowserTracing()],
    // eslint-disable-next-line
    release: _SENTRY_RELEASES_, //版本号,参见webpack.config.js中的define定义
    enabled: process.env.NODE_ENV !== 'development',
    // Set tracesSampleRate to 1.0 to capture 100%
    // of transactions for performance monitoring.
    // We recommend adjusting this value in production
    tracesSampleRate: 0.8
});执行npm run build即可看到效果;
主要要删除.map文件上传完,所以在package.json的script中的build 要加上rm -rf dist/js/*.map删除map文件