
This repository contains starting files for the Behavioral Cloning Project.
In this project, you will use what you've learned about deep neural networks and convolutional neural networks to clone driving behavior. You will train, validate and test a model using Keras. The model will output a steering angle to an autonomous vehicle.
We have provided a simulator where you can steer a car around a track for data collection. You'll use image data and steering angles to train a neural network and then use this model to drive the car autonomously around the track.
We also want you to create a detailed writeup of the project. Check out the writeup template for this project and use it as a starting point for creating your own writeup. The writeup can be either a markdown file or a pdf document.
To meet specifications, the project will require submitting five files:
- model.py (script used to create and train the model)
- drive.py (script to drive the car - feel free to modify this file)
- model.h5 (a trained Keras model)
- a report writeup file (either markdown or pdf)
- video.mp4 (a video recording of your vehicle driving autonomously around the track for at least one full lap)
Behavioral Cloning Project
The goals / steps of this project are the following:
- Use the simulator to collect data of good driving behavior
- Build, a convolution neural network in Keras that predicts steering angles from images
- Train and validate the model with a training and validation set
- Test that the model successfully drives around track one without leaving the road
- Summarize the results with a written report
Here I will consider the rubric points individually and describe how I addressed each point in my implementation.
My project includes the following files:
- model.py containing the script to create and train the model
- drive.py for driving the car in autonomous mode
- model.h5 containing a trained convolution neural network
- writeup_report.md or writeup_report.pdf summarizing the results
Using the Udacity provided simulator and my drive.py file, the car can be driven autonomously around the track by executing
python drive.py model.h5The model.py file contains the code for training and saving the convolution neural network. The file shows the pipeline I used for training and validating the model, and it contains comments to explain how the code works.
My first step was to use a convolution neural network model similar to the NVIDIA model. My model consists of a convolution neural network with 5x5 filter sizes and depths between 24 and 48 (model.py lines 96-98) and 3x3 filter sizes and depth 64 (model.py lines 99-100)
The model includes ELU layers to introduce nonlinearity, and the data is normalized in the model using a Keras lambda layer (code line 93).
Here is a visualization of the architecture (note: visualizing the architecture is optional according to the project rubric)
The model contains dropout layers in order to reduce overfitting (model.py lines 101).
The model was trained and validated on different data sets to ensure that the model was not overfitting (code line 75). The model was tested by running it through the simulator and ensuring that the vehicle could stay on the track.
The model used an adam optimizer, so the learning rate was not tuned manually (model.py code line line 113).
Training data was chosen to keep the vehicle driving on the road. I used a combination of Track 1 driving in both direction, Track 2 data multiple loop to generalize data and additional training at troubled area like sharp turn where verticle post avilable, recovering from the left and right sides of the road, and additional training at bridge for track 1, Also I have deleted 50% straight line steering data (model.py code line line 59), to balance data. Here is an example image of center, left and right camera:
To augment the data sat, I also flipped images and angles thinking that this would generate additional data with single run on track, like running car on mirrored track and helps For example, here is an image that has then been flipped:
After the data collection process, I had 47036 number of data points. I then preprocessed this data by image augumentation for random brightness and image flipping as suggested in class video.
In order to gauge how well the model was working, I split my image and steering angle data into a training and validation set. I finally randomly shuffled the data set with put 20% of the data into a validation set.
Model.fit_generator used to train model, sample per epochs was equal to total no. of training dataset, Model train for 5 epochs. Below are the summery for loss per epoches:
Epoch 1/5
47040/47036 [==============================] - 546s - loss: 0.0846 - val_loss: 0.0674
Epoch 2/5
47040/47036 [==============================] - 617s - loss: 0.0628 - val_loss: 0.0532
Epoch 3/5
47040/47036 [==============================] - 526s - loss: 0.0569 - val_loss: 0.0526
Epoch 4/5
47040/47036 [==============================] - 526s - loss: 0.0508 - val_loss: 0.0498
Epoch 5/5
47040/47036 [==============================] - 554s - loss: 0.0451 - val_loss: 0.0420
Also Ploted result for MSE loss per epoches, as shown below:
The final step was to run the simulator to see how well the car was driving around track one. There were a few spots where the vehicle fell off the track like spots at sharp turn, also near verticle post, to improve the driving behavior in these cases, I have increased the number of images at this place also increase cropping area to keep image only related to road area.
To test and record video of training model on Track 1 in udacity simulator following command used in terminal
python drive.py model.h5 Track_1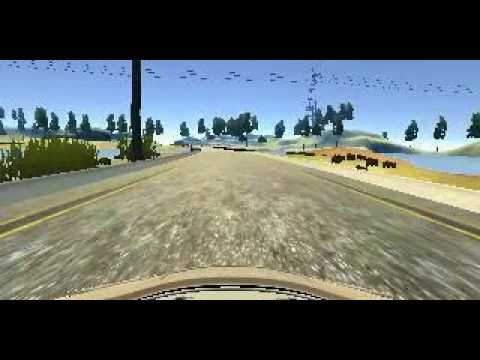
Same procedure repeated for Track 2 with small change in cammand (replace Track_1 with Track_2) to run and record video on Track 2.
python drive.py model.h5 Track_2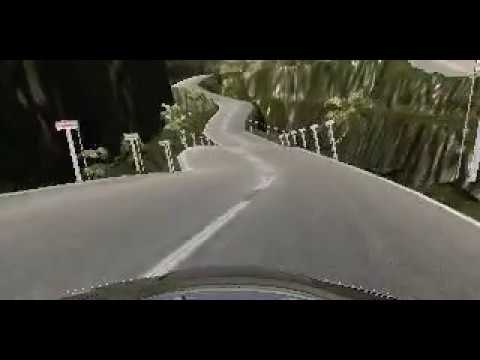
At the end of the process, the vehicle is able to drive autonomously around both tracks without leaving the road.