Your money, your control — anywhere, anytime.
Finapp helps you easily track and manage personal finances.
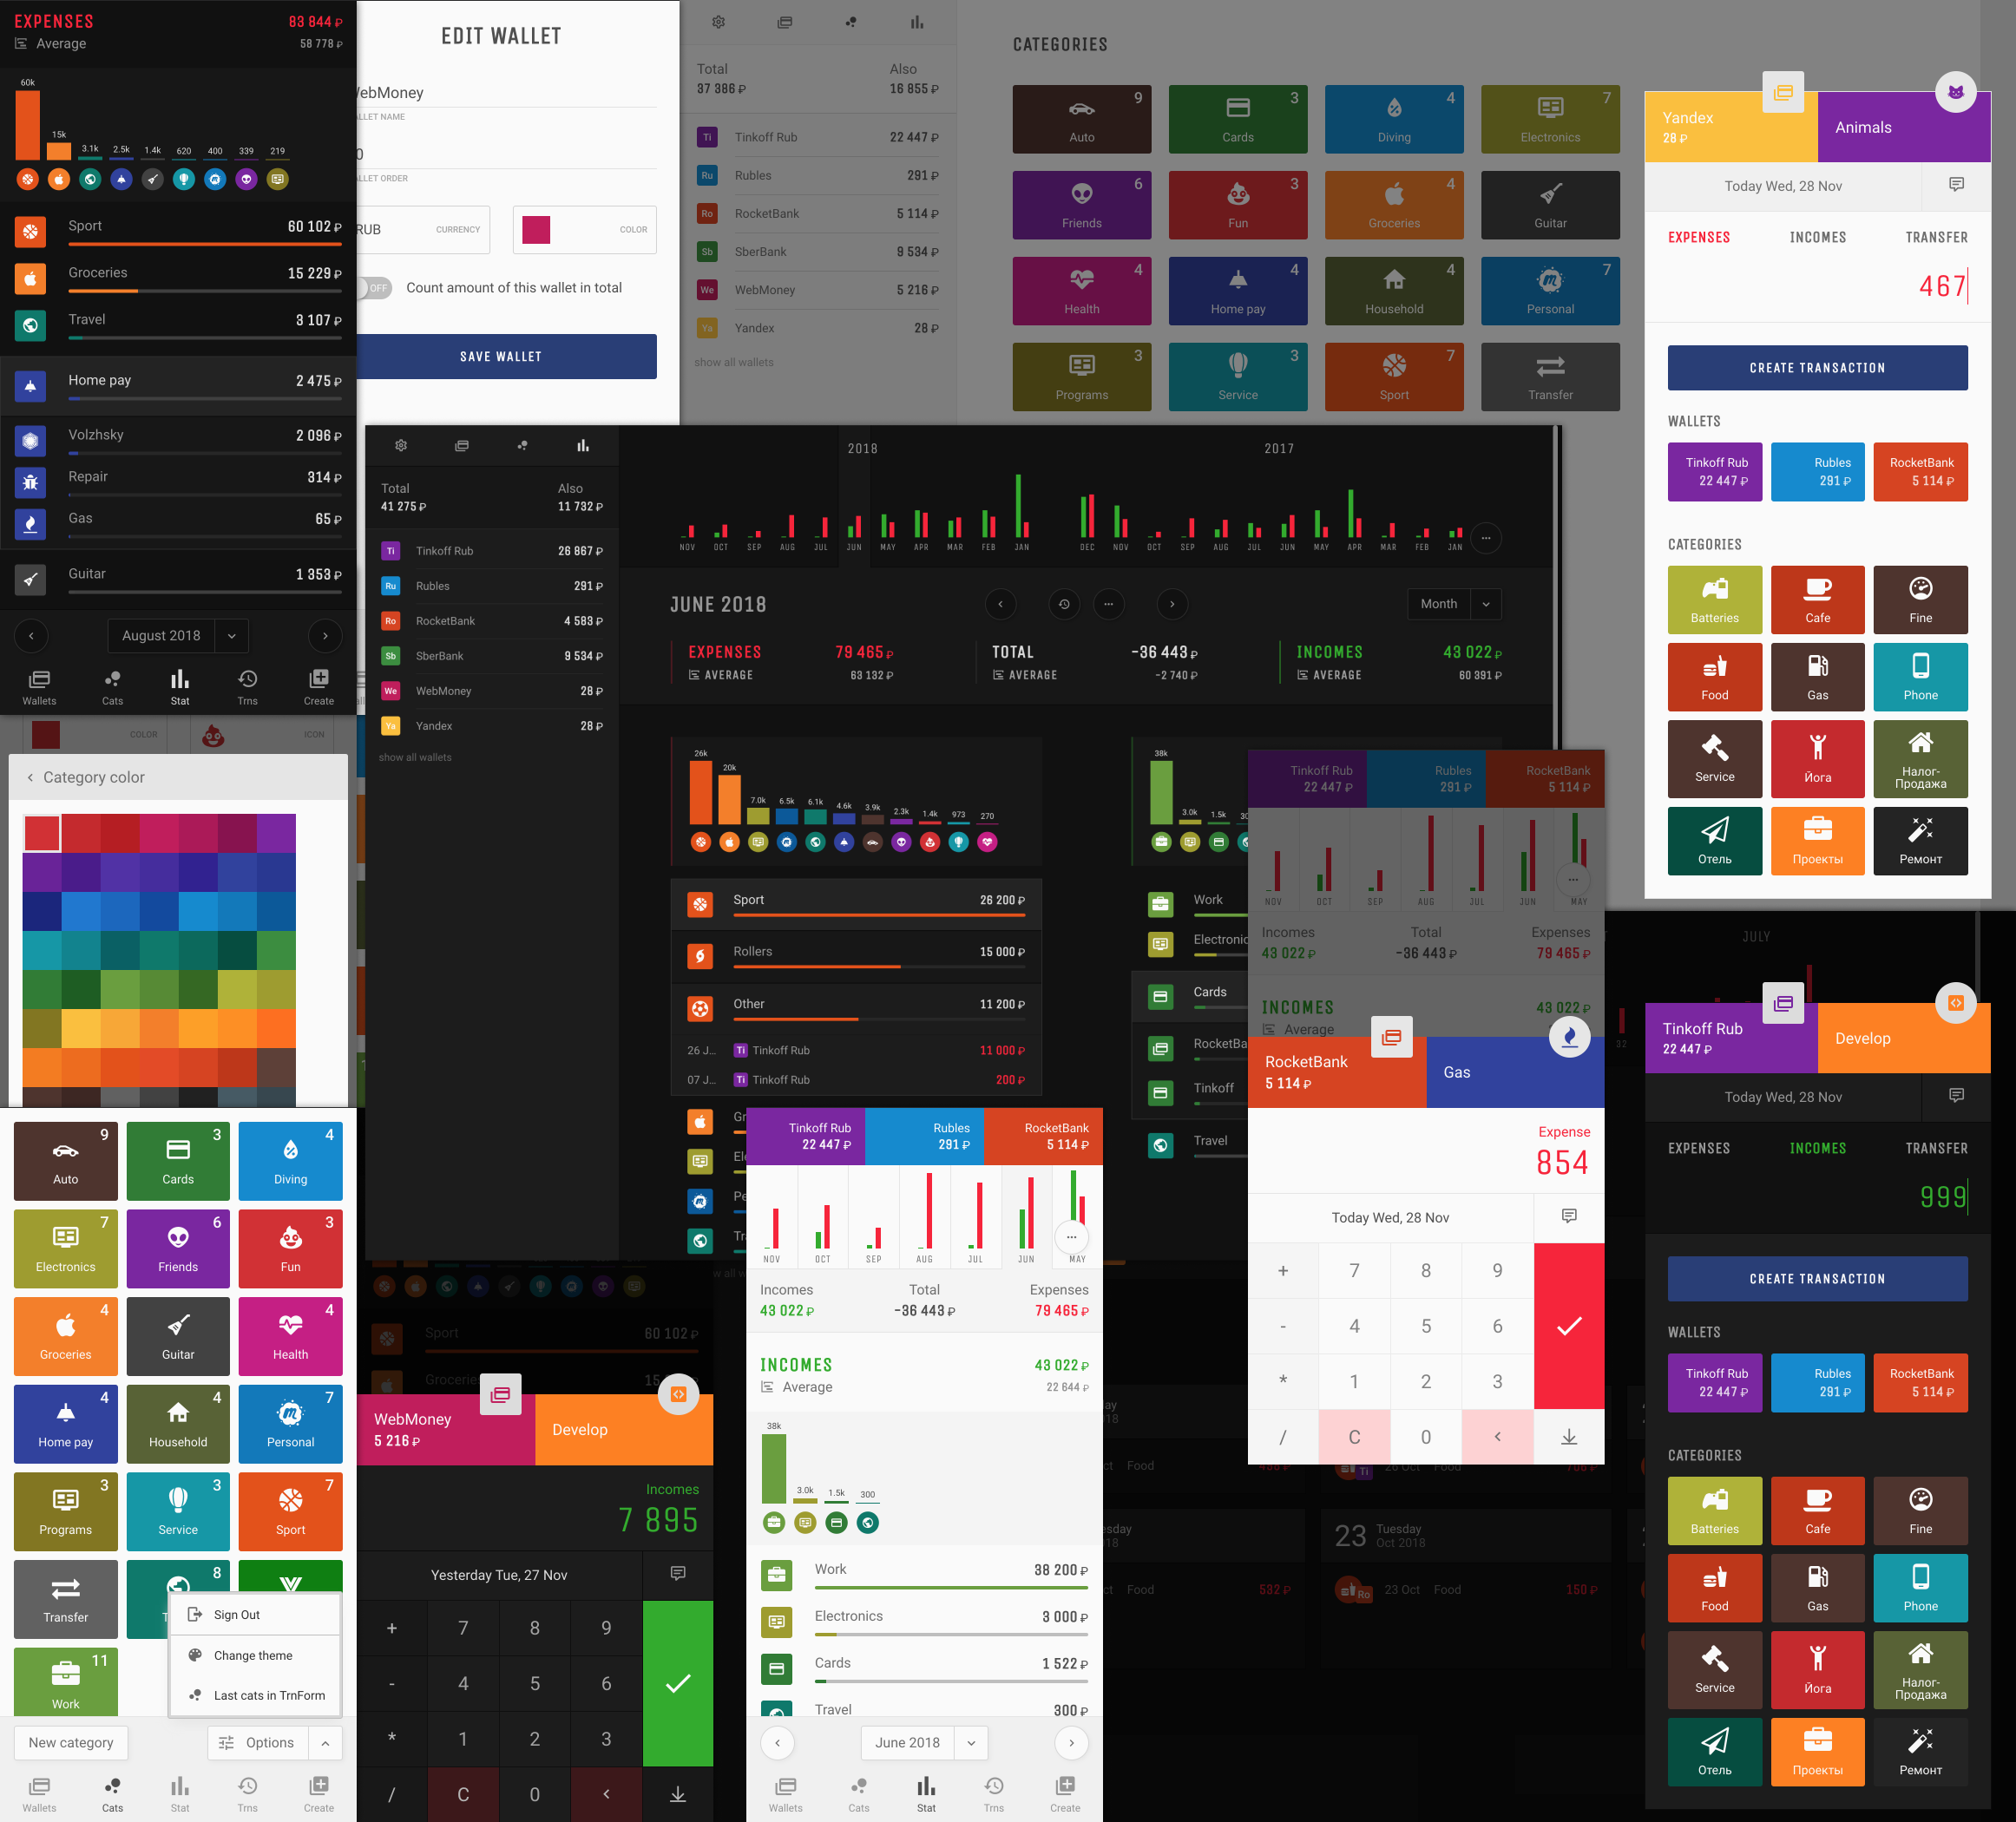
- Simple: No clutter, no distractions — just your transactions and balances.
- Fast: Works offline and syncs instantly across devices.
- Private: You own your data — securely stored via Firebase.
- Flexible: Supports multiple currencies with automatic exchange rates.
- Portable: Optimized for mobile and desktop, installable as a PWA.
- Offline-first (PWA) with full CRUD support.
- Instant real-time sync across devices (Firebase).
- Mobile-first, but optimized for desktop.
- Dark and Light theme support.
- Multi-currency with automatic exchange rates.
- Vue 3
- Nuxt 3
- TailwindCSS 4
- Firebase
- Progressive Web App
git clone https://github.com/ilkome/finapp.git finapp
cd finapp
pnpm install- Create a project in Firebase Console.
- Enable Realtime Database.
- Set Database Rules:
{
  "rules": {
    "users": {
      "$uid": {
        ".read": "auth != null && auth.uid == $uid",
        ".write": "auth != null && auth.uid == $uid"
      }
    },
    "currencies": {
      ".read": "auth != null",
      ".write": "auth != null"
    },
    "ratesUsd": {
      ".read": "auth != null",
      ".write": "auth != null"
    }
  }
}- Register a Web App in Firebase and copy the config.
- Replace the contents of
services/firebase/config.jswith your config:
export const firebaseConfig = {
  apiKey: 'YOUR_API_KEY',
  a
8000
uthDomain: 'YOUR_AUTH_DOMAIN',
  databaseURL: 'YOUR_DATABASE_URL',
  messagingSenderId: 'YOUR_MESSAGING_SENDER_ID',
  projectId: 'YOUR_PROJECT_ID',
  storageBucket: 'YOUR_STORAGE_BUCKET'
}- In Firebase Console → Authentication → Sign-in method → Enable Google provider.
- Add your domain under Authentication → Sign-in method → Authorized domains.
- Sign up at openexchangerates.org and get an App ID.
- Rename
.env.exampleto.envand set your App ID:
OPEN_EXCHANGE_RATES=your_app_idRun local server with hot reload:
pnpm devGenerate static files for deployment:
pnpm generateThen upload everything in .output/public to any static hosting.
Tip: Use services like Vercel or Netlify for automatic deployments.
- Telegram: @ilkome